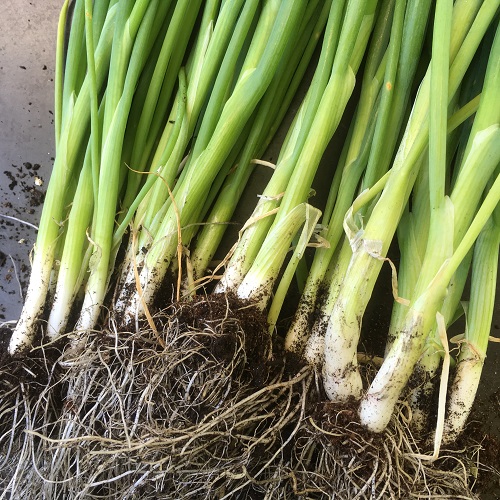
If you are used to having even a reasonable success with main-crop onions then you should have no problems at all with growing garlic as their cultivation needs are almost identical. It is definitely a crop worth growing yourself because the absolutely best garlic you can get is that lifted fresh from the ground – known as wet garlic. This garlic is sweeter, less pungent and far more digestible than dried garlic, and the only way to guarantee your personal supply is to grow it yourself.
It’s all in the preparation, and if you can, you should be preparing your garlic bed by the end of summer. The reason for this is simple - the secret in getting really big bulbs, with plenty of divisions, is to get them planted in the ground by around the middle of October.
Dig in plenty of well-rotted farm manure as garlic plants love to be grown in a rich fertile soil, but strangely they don’t care for high levels of nitrogen and so avoid planting on freshly manured soil. Instead, dig over and add manure to the ground several months before planting which means you could be preparing your garlic bed as early as August. You may even wish to add a little bonemeal at this time.
Drainage is also important as garlic will rot in water-logged conditions so if you intend planting into heavy soil add plenty of organic matter and even horticultural grit to improve its drainage.
If you soil is too acidic – below pH 5.5 – you will need to add lime to the bed, but only do so according to manufactures recommendations. In general, garlic plants will prefer a pH of between 6 and 7.5.
When planting at this time of year you must stick to using specific cultivated varieties such as 'Solent Wight', ’Lautrec Wight', and 'Picardy Wight' - widely regarded as Frances finest garlic, and Provence Wight, all of which are known to suitable for growing our northern climates. Unfortunately, if you try to some of the larger supermarket bulbs they have probably been treated to prevent sprouting and are highly likely to die off in the cold wet weather.
Start by dividing the cloves of garlic from the bulb and then set the largest and healthiest looking cloves aside for planting. Plant the garlic cloves 4 inches apart in rows 8 inches apart. Place them in an upright position, no more than 1 ½ inch below the soil surface - the bottom of the clove is identified by its flattened, slightly concave end.
From May, try adding a general fertiliser - like growmore - every four weeks for extra fertility, but you can also consider adding micronutrients - in particular boron and zinc – which are important in garlic production in order to get the best taste. Consider giving your garlic plants a periodic liquid feed of seaweed based fertiliser but if your garlic plants are clearly growing well this will probably be unnecessary.
Although it’s important to grow garlic in a free draining soil, they will still need watering especially in hot, dry weather.
When growing garlic in rows, leave enough space between the rows to get your hoe in for weeding. However, always hand-weed between your garlic plants as they are easily damaged by garden tools.
How to grow Garlic from bulbs. Your garlic should be ready for harvesting any time between August to September depending on both the weather and individual varieties. The bulb will be mature when the foliage turns yellow and begins to tip over, but you will need to leave them for another couple of weeks before lifting.
The problem with harvesting garlic is knowing when they are ripe in order to lift them. Harvest them too early and the bulbs will be too small, but harvest too late and the bulbs will begin to loose their quality. If the weather is wet in early August, pull up a single bulb and see how many sheaths (the thin papery layers that surround the bulb) you can peel off the bulb, if the answer is three then the bulb is ready to be lifted. If you can remove four or more layers then it is best to wait another couple of weeks or at least until most of the leaves have turned brown. Once lifted, most of the bulbs can be washed and dried, and then placed into a warm dry part of the garden to dry out, however if rain is forecast then they will need to be brought indoors. Once dried off, these bulbs should now keep in good condition for 3 months or more.
Elephant garlic is grown in the same way but given a wider spacing of 25cm between cloves. Elephant garlic often runs to seed during growth, break the seed stalk off at least three weeks prior to harvest.
Growing Garlic in Containers
Growing garlic in containers is an excellent way of providing your kitchen with one the freshest, and most flavoursome of herbs, especially if you are a little short of space in the garden. Not only is garlic simple to grow, it has also been used throughout history for its medicinal value too.
The best time to plant garlic in containers is mid-October as the cold weather helps to initialize growth that will result in far larger bulbs and a greater number of cloves.
Fill a deep container - with a circumference of at least 6 inches - with god quality compost’. The depth is important here as although garlic is now a highly cultivated plant – its wild ancestors would have originate from the mountainous regions of Asia. In this environment their fine roots were programmed to search for water far deeper than other similar plants, a natural result evolved to ensure their survival in these harsh conditions. Plant no more than 1 ½ inch below the soil surface - the bottom of the clove is identified by its flattened, slightly concave end.
Water the pots well and place them outside in a sunny position, and if you are planting up before winter, try and keep the pots out of the way of cold winds. From early-June onwards, begin feeding with a general purpose plant food every two weeks.
Do you have any garlic growing tips? Leave a comment below and let everyone know....
All blog content on this page is copyright of SimplySeed and is not to be reproduced without prior written permission. ©