

26 July 2024
Pak Choi is grown for its tasty leaves which are superb when added to stir fries and salads.
The taste is similar to that of mild cabbage and spinach and is a popular addition to many oriental dishes.
Posted in Blog Home
For many gardeners, the greenhouse is probably the most precious and most important piece of gardening equipment they will ever own. It allows you to grow plants earlier, save money on buying plants and seedlings by growing your own, overwinter your plants, grow exotic plants, grow fresh fruit and vegetables, grow plants all year round and have somewhere to escape to when it’s cold and raining. It seems there is always something that needs doing in the greenhouse.
Having a greenhouse and using it to its full potential is not only practical, it’s also very therapeutic and feeds your undying inner passion for gardening. There’s nothing more rewarding than sowing a few dormant seeds in a pot or seed tray, in the greenhouse and then waiting, sometimes impatiently, for them to burst into life. Tending to your plants’ every need in the first few days and weeks of their delicate lives brings about a self-imposed responsibility that most gardeners absolutely relish. Followed by tenderly nurturing your young plants to maturity, which can provide unmeasurable satisfaction and encapsulates the very essence of self-indulgence and gratification.
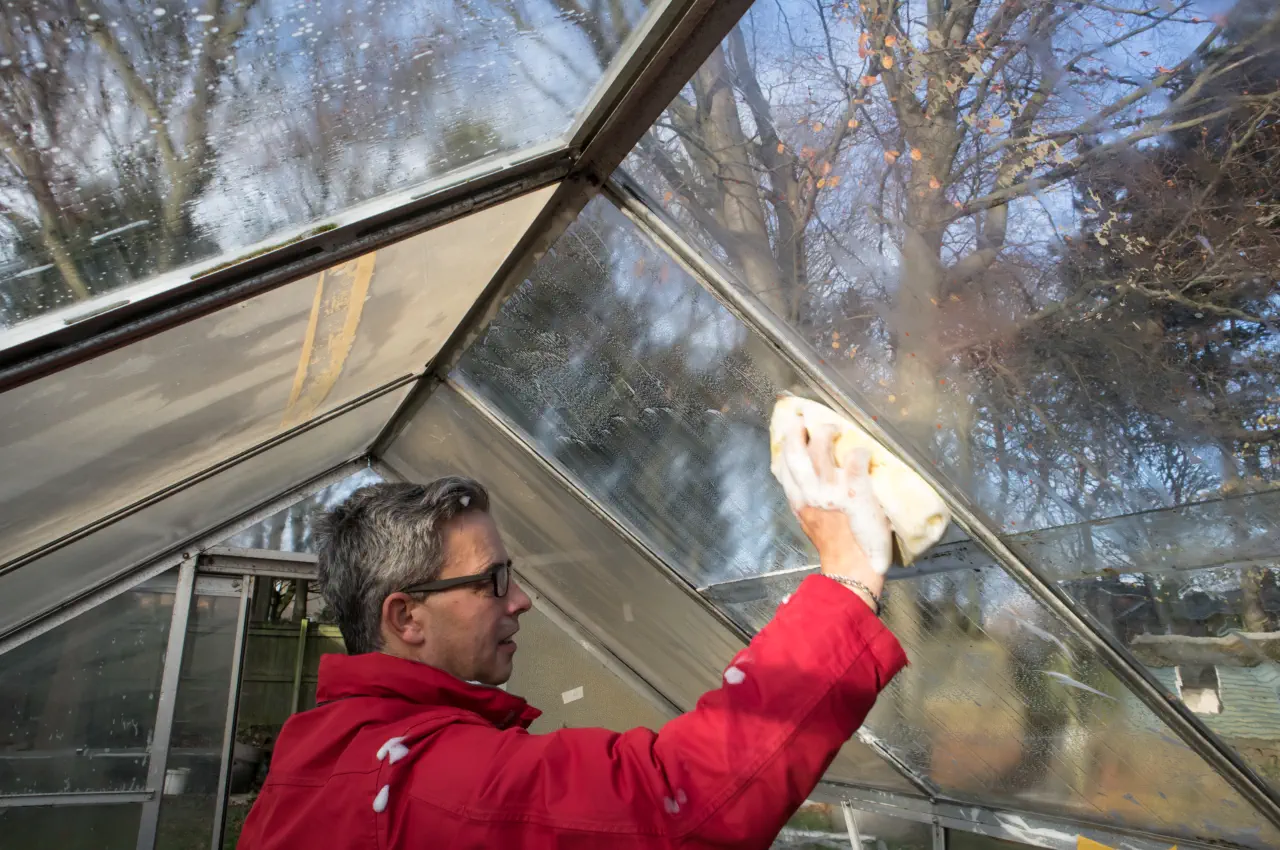
If that’s how passionate you feel about gardening in your greenhouse then keeping it in tip top condition is absolutely paramount. For many gardeners, greenhouse maintenance is only really possible during the winter months when there are fewer plants, or no plants to look after, and therefore more room to work with during the cleaning process. It’s important that the inner space of your greenhouse is kept clean and free from possible pests, diseases and viruses well before the new growing season begins. So to be sure that it is, it will need a thorough top to bottom clean throughout. This is also the ideal time to carry out any necessary repairs, however minor.
Cracked glass panes will allow heat to escape and water to seep in. A cracked pane can be temporarily repaired by applying weatherproof glass tape to the crack. However, in the long term, a replacement is always the best option. Glass can become weakened over time and so you might want to consider replacing any damaged panes with clear acrylic panes, which will last longer. Sometimes known as Perspex, acrylic panes are just as effective as glass but generally cheaper and easier to handle. An alternative to Acrylic is Polycarbonate, which is a little less flexible but much stronger and just a little more expensive.
At the same time as checking, replacing or repairing glass panes, check the putty on wooden greenhouses, which can become cracked and eventually fall out. Check all the retaining clips on uPVC and aluminium greenhouses. These clips can sometimes slip off or become dislodged due to expansion and contraction caused by extremes of weather. If you use a power washer on the external frame and glass panes then any loose parts or weak glass will soon become evident.
Wooden greenhouses often need a little more care and attention than the uPVC and aluminium types simply because the timber will need treating with a preservative. Cedarwood is more often than not the timber used for wooden greenhouse construction and although this material is very durable and long-lasting it will need an annual application of preservative to keep it in good condition. A quality, oil based, UV resistant preservative, which protects against algae, mould and fungus is the best option. You can apply a coat or two to both the interior and exterior, although the external frame is more important as it will need protection from the elements.
Cedarwood frame greenhouses only need an annual application of preservative to the bare wood, after a little rubbing down with glass paper. Painted wooden greenhouses however, although not popular these days, will need a new coat of paint every 2 years. Old flaking paint can be removed by rubbing down but in cases where many layers of paint have been applied over several years, it might be best to remove all the old paint, stripping down to the bare wood, which is quite a long and tedious task.
The uPVC frame greenhouse can simply be wiped down both inside and outside with warm soapy water to remove any dirt and grime. A stiff brush with a long handle will help reach some of the more inaccessible places. Check that doors and windows open and close easily and apply a little light oil to hinges if necessary. The real benefit of having a uPVC or “plastic” greenhouse is the low maintenance. Many modern uPVC greenhouses are also very stylish and come with safety glass as standard. Those with double glazing offer additional benefits such as heat retention.
Aluminium has been around for quite some time now and greenhouse frames manufactured from this material are still quite common. The panes are usually held in place by “tension” or “spring” clips and where one pane overlaps another there will be “s” clips in place. Check whether any of the panes have slipped and reposition them if necessary. Also, check the joints of the frame and the holding nuts and bolts for tightness. These connections can become rusty and should be replaced if showing signs of corrosion. Aluminium greenhouses do not retain heat very well and condensation can sometimes be a problem, leaving stains and streaks on inner surfaces of glass.
A greenhouse is only as good as its base. If the base, on which the greenhouse stands, has sunk or cracked then problems lie ahead. The greenhouse will begin to tilt, making any internal staging uneven. If the problem is not fixed then the greenhouse will eventually begin to keel over. Check the foundation or base of your greenhouse for any movement and rectify this matter as soon as possible. It’s obviously best to ensure a solid base is laid before erecting a greenhouse, bearing in mind the total weight load, which will have to be supported over a long period of time.
When you have carried out all external cleaning and repair works, turn your attention to the interior of the greenhouse. First, move any plants to a shed or any dry, frost free place prior to cleaning. Also, before you clean the glass with a proprietary glass cleaner, spray an insecticide in the corners and between any joints. This is where insects can take up residence and overwinter in your greenhouse. Joints in timber frames make especially attractive homes for insects such as red spider mite and earwigs. Remove any debris, old broken pots and trays, any used smoke bombs, and also any growing equipment such as a propagator. The latter needs to be taken apart and thoroughly cleaned before returning to its position.
Next, systematically clean all pots, trays, dibbers and labels etc. with a Jeyes fluid and warm water mixture. Clean the propagator equipment carefully especially if it is the electric type and then place back into position. Clean all shelving or staging thoroughly with Jeyes fluid mixed with warm water and allow to dry before placing pots back onto the surfaces. Dry everything with a cloth before placing back into position. Finally, scrub the path or floor area with a mix of Jeyes fluid and water, using a stiff yard brush then leave all vents and doors open to allow air to circulate and dry everything before replacing any plants.
If you have soil beds or raised planters in your greenhouse and you have experienced problems with fungal infections or soil borne viruses then it is simply better to replace the soil. For a small greenhouse, replacement is probably the best option because there are no easy chemical remedies available. Remove a spade depth of existing soil and replenish with a John Innes No.2 or equivalent mix of sterilised loam, peat and grit. This is the ideal medium for growing tomatoes, cucumbers and melons etc. Soil beds do not necessarily need changing every year but a change every 2 or 3 years will ensure your plants do grow healthy. During the growing season, always remove any dead leaves from the surface of the soil to prevent fungal infections taking hold.
The Soil Sterilisation Question
Many gardeners are confused about whether they can sterilise the soil in their greenhouse beds. Soil can be sterilised safely by applying very high temperature steam but this is not usually practical for such small plots. Formaldehyde is another option but will kill everything in the soil including good bacteria so this is not an ideal remedy. Some effective chemicals, such as Basamid, are available but only to commercial growers. You can purchase a soil steriliser if you have a particularly large greenhouse and you think the cost warrants it. Jeyes fluid is sometimes mentioned as a soil steriliser but this is no longer approved for this purpose and there are risks involved in using it with soil. The safer option is to use fresh soil or grow bags or containers with compost purchased from a reputable retailer.
Got any Greenhouse Maintenance Tips? Let us know with a comment below....
All blog content on this page is copyright of Simplyseed and is not to be reproduced without prior written permission. ©
Pak Choi is grown for its tasty leaves which are superb when added to stir fries and salads.
The taste is similar to that of mild cabbage and spinach and is a popular addition to many oriental dishes.

Feeding cucumber plants is crucial for healthy growth and plenty of fruit. Knowing when to start feeding and what fertilisers to use can make all the difference in your harvest.
Here’s our top tips and best practices

As July’s warm sunshine brings growth to UK gardens they also bring several common garden diseases.
Our Blog post looks at 5 garden diseases to watch out for this July and how to prevent and treat them.

Planting in autumn is usually better as it allows the cloves to get established before winter and then produce better clove formation in spring.
If you miss the autumn window don’t worry – you can still plant....

Oregano and marjoram are related but have different flavours; oregano is bold and pungent, whilst marjoram is sweet and floral....

When and how to cut back lavender in the UK? Find out the method and best time to cut back your lavender for a profusion of flowers....
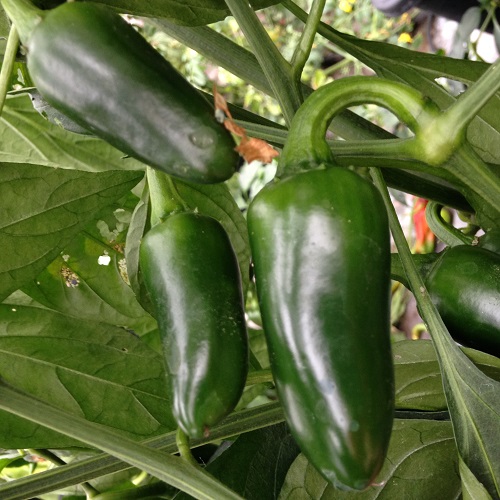
Chilli Jalapeno is the chilli most often used for nachos.....
Average Contents : 20 Seeds

Lollo Rossa is an open leafed, non-hearting type with red tinged.....
Av. Packet Contents : 500 seeds
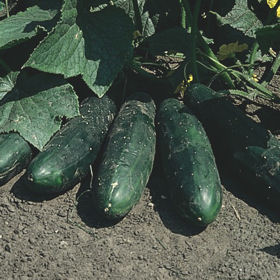
Marketmore is an outdoor ridge variety, producing.....
Packet Content: 20 Seeds
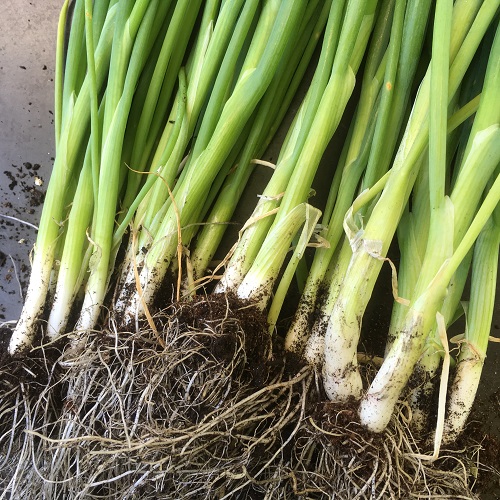
White Lisbon is the standard variety for bulbing salad.....
Average Contents : 500 seeds
An older traditional variety, best sown later.....
Average Contents : 0.5g (approx 150) seeds
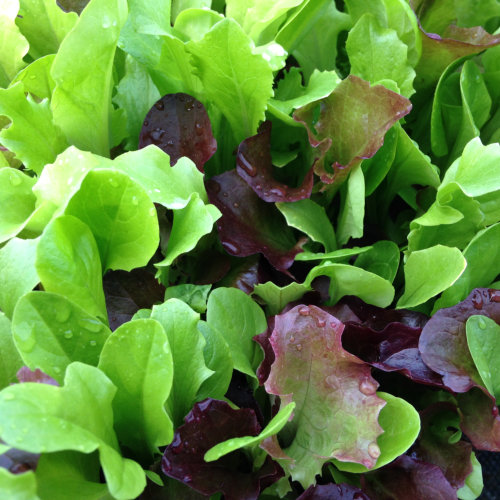
Mix of Lettuce varieties suitable for use as a cut and come.....
Average Contents : 1.5g, approx 1000 seeds