How To Successfully Grow Kale From Seed: Tips for Success
23 January 2024 | SimplySeed
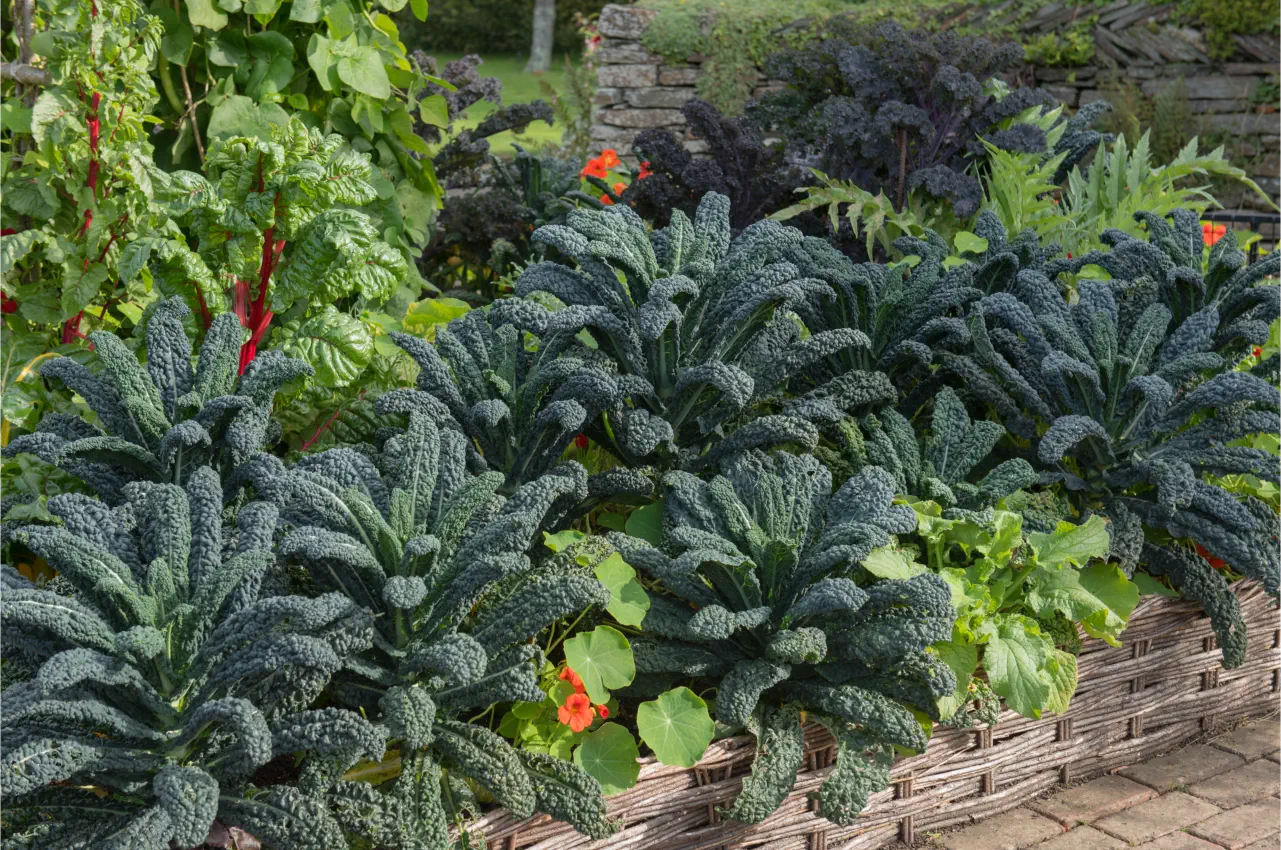
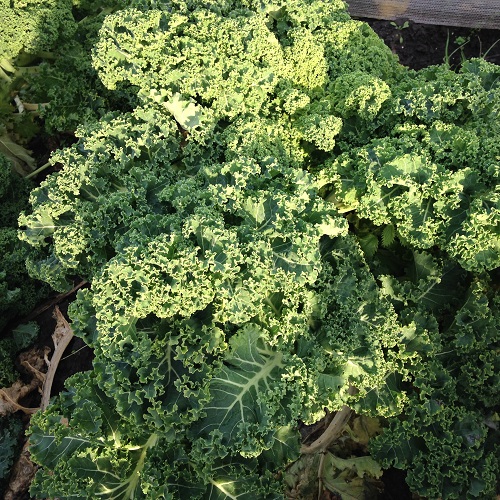
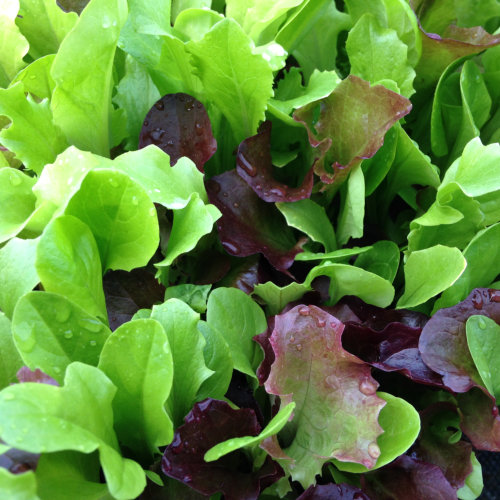
Kale has been one of those almost forgotten crops in recent years but is now making a welcome comeback due its nutritional properties. Rich in iron plus vitamins C, A, K and E, kale is also the easiest of all the brassicas to grow and will tolerate extreme cold conditions and even poor soil. It can be harvested throughout the winter, when little else by way of fresh greens is available, and the crisp young leaves can also be picked in the spring to compliment salads.
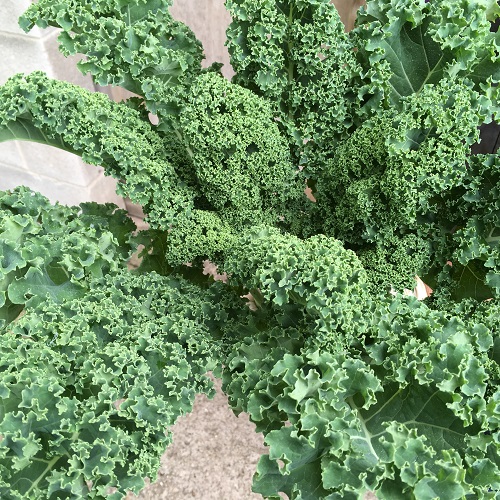
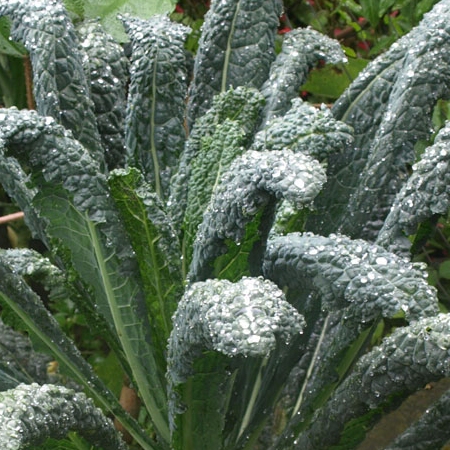
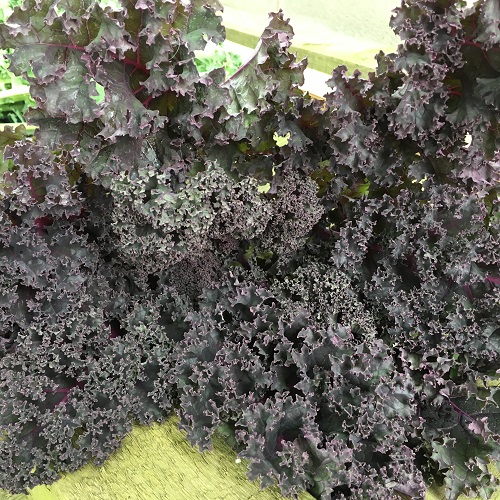
There are several varieties available from the popular curly leaf type to those with flat, smooth leaves. All varieties are very hardy and unlike other members of the brassica family, they are much less susceptible to attack by pests and diseases. The modern varieties have a much improved taste compared to their earlier, bitter counterparts, making this vegetable a welcome winter alternative to frozen vegetables.
Sowing Kale Seeds
Seeds can be sown from March to June outdoors directly into a well prepared seed bed or they can be sown indoors. It’s advisable however, not to sow if conditions are particularly hot and dry. They can also be sown in modules or seed trays in a cool greenhouse, where they are likely to get a much better start than those sown outdoors. Sowing directly outdoors is preferable for the curly leafed variety. The flat leafed type seedlings do not always transplant well so best sow in modules.
Kale Winterbor is a very frost resistant, medium-tall variety for.....
Average Contents: 25 seeds
Sowing Outdoors
Ensure the seed bed has been well prepared and if this is also likely to be the final growing residence then either a sunny position or partial shade will both be fine. For straight and even rows, use a string line and mark out a seed drill with the edge of a hoe. The drill needs to be around 1cm deep and seeds should be sown sparingly along the line. If the seedlings are to be transplanted later then additional rows need only be 30com apart. Lightly cover the seeds with fine soil, firm and lightly water using a watering can with a fine rose attachment. During dry weather water the drills occasionally to aid germination, which should take 7-10 days.
Sowing Indoors
Kale Seeds sown in seed trays or modular trays indoors will germinate quicker and produce healthy seedlings. Use a seed compost to fill the trays and sow the seed sparingly over the surface of the compost. With modular trays you can sow one or two seeds per module, keeping only the healthiest of seedlings. Cover the seeds with fine sifted compost or vermiculite to a depth of about 1cm then lightly tamp the surface using a flat compost presser. Gently water the seed boxes using a watering can with a fine rose attachment.
The seeds should germinate within 5-8 days and once large enough to handle, they can be transplanted into 75cm pots and moved to a cooler position with plenty of light. After about 10-14 days from transplanting to pots, and prior to planting into their permanent positions, move the seedlings into a cold frame, cloche or a sheltered area of the garden for a further 10 days so that they can become acclimatised.
Soil Preparation
Soil that has been previously prepared, with the addition of well-rotted manure or garden compost, during the winter will produce the best results. However, kale is very accommodating and will grow on poor soils providing drainage is not a major issue. Heavy clay type soils can be improved by adding compost, coarse grit and lime during the winter preparation. Prior to planting, ensure the plot is quite level and well firmed down, then apply a rake to the surface to gain an evenly graded finish. The addition of a general fertiliser to the prepared soil will help the plants become quickly established but avoid fertilisers that are high in nitrogen as the plants could produce large soft leaves, which may succumb to frost over the winter.
Planting Out
This task is usually carried during June or July, depending on when the seeds were sown. For seedlings grown outdoors, which should now be around 5-7cm high, you can either thin them out leaving one healthy plant every 45cm or carefully lift and move to their permanent growing positions, transplanting at 45cm apart both ways. Plants that have been grown indoors and acclimatised can also be planted into their permanent positions at a space of 45cm apart all round. Ensure the plants are well supported in the soil by carefully firming the soil around the base of the stems and then water well with a watering can and fine rose attachment.
General Aftercare
Kale need very little attention but do keep the plants watered during dry conditions. Remove weeds regularly between growing plants and to conserve moisture spread a layer of mulch around the base of the plants. Remove any yellow leaves should they appear.
Harvesting Your Kale
Plants will be ready for harvesting from October and right through the winter. It’s best to gather a few young leaves from the crowns of several plants, which will encourage new shoots to grow. These will be ready for picking again in February. Cut the leaves cleanly with a knife rather than breaking or pulling them off the plants. Continue to harvest the youngest leaves only, throughout the winter months but avoid the larger, tougher leaves, which will not be at all pleasant to eat.
Pests & Diseases
Kale scores very well here because unlike many other brassicas, it is not a favourite of the cabbage white butterfly or cabbage white fly. However, check for caterpillars occasionally and remove if found. Club root, which is a disease that can affect all brassicas, is less of a problem for kale unless there is a particularly serious soil infection. If club root is known to be present in the soil then the addition of lime during the winter preparation can help. A soil with a neutral pH of 6.5 is best.
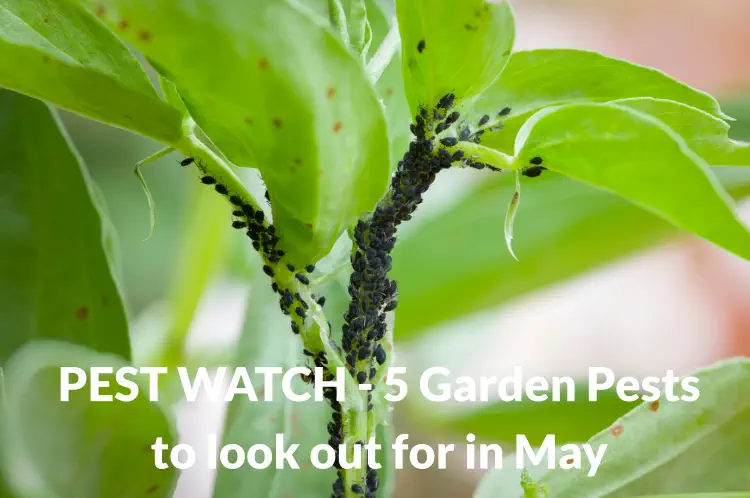
As spring unfolds and the garden bursts into life, May heralds a time of vibrant growth and abundant blooms. However, amidst the verdant splendor, gardeners must remain vigilant against the resurgence of common pests eager to feast on tender foliage and burgeoning crops.
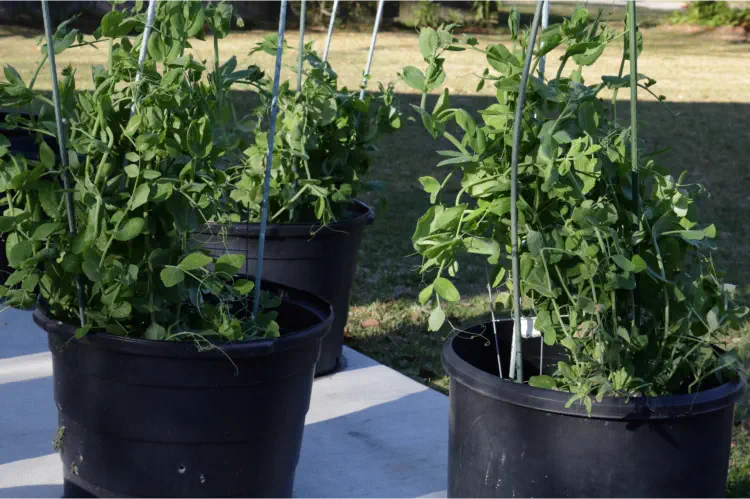
If you’re aiming to grow your peas in pots and other containers, you’ve come to the right place. We’ll give you with the practical know-how you need, from selecting the right pot to harvesting your crop. Discover the essential steps to nurture growing peas from seeds at home.....
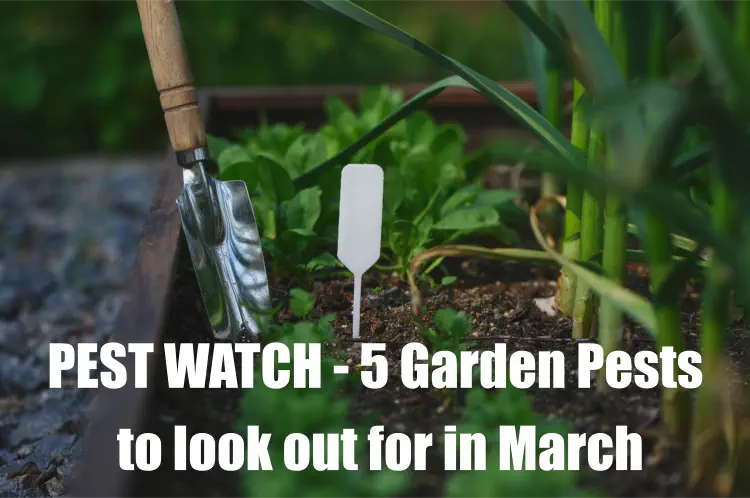
As the days begin to lengthen and temperatures slowly rise, gardeners eagerly prepare for the start of the growing season. However, along with the promise of new growth and vibrant blooms, March also brings the emergence of common garden pests eager to feast on tender plants.
Here, we'll explore five garden pests to watch out for in March and provide practical tips for effectively managing them.....
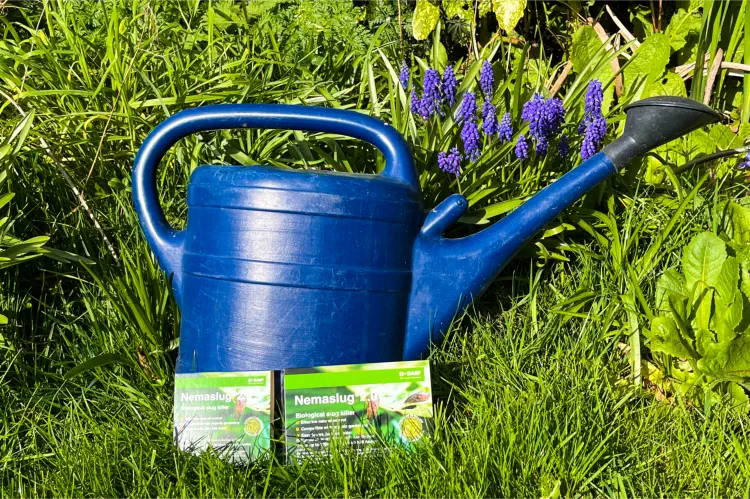
The UK gardener, along with our changeable weather, seems to be in a constant battle against slugs! But if these slimy invaders are wreaking havoc on your precious plants, fear not – nature has a secret weapon: Nemaslug Slug Nematodes. In this blog post, we'll walk you through the basics of nematodes, how they work, and the steps to effectively apply Nemaslug in your home garden.....
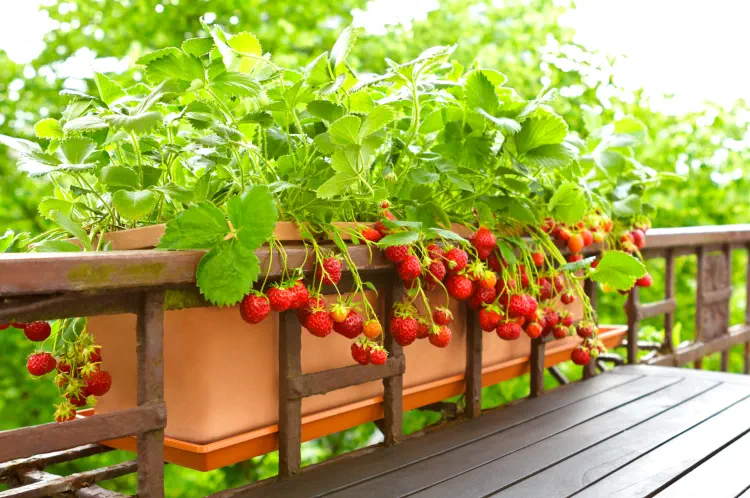
Discover the secrets to choosing the right container, perfecting your soil mix, and the basic care steps that lead to a satisfying and flavourful harvest, whether grown on a back garden or a balcony....