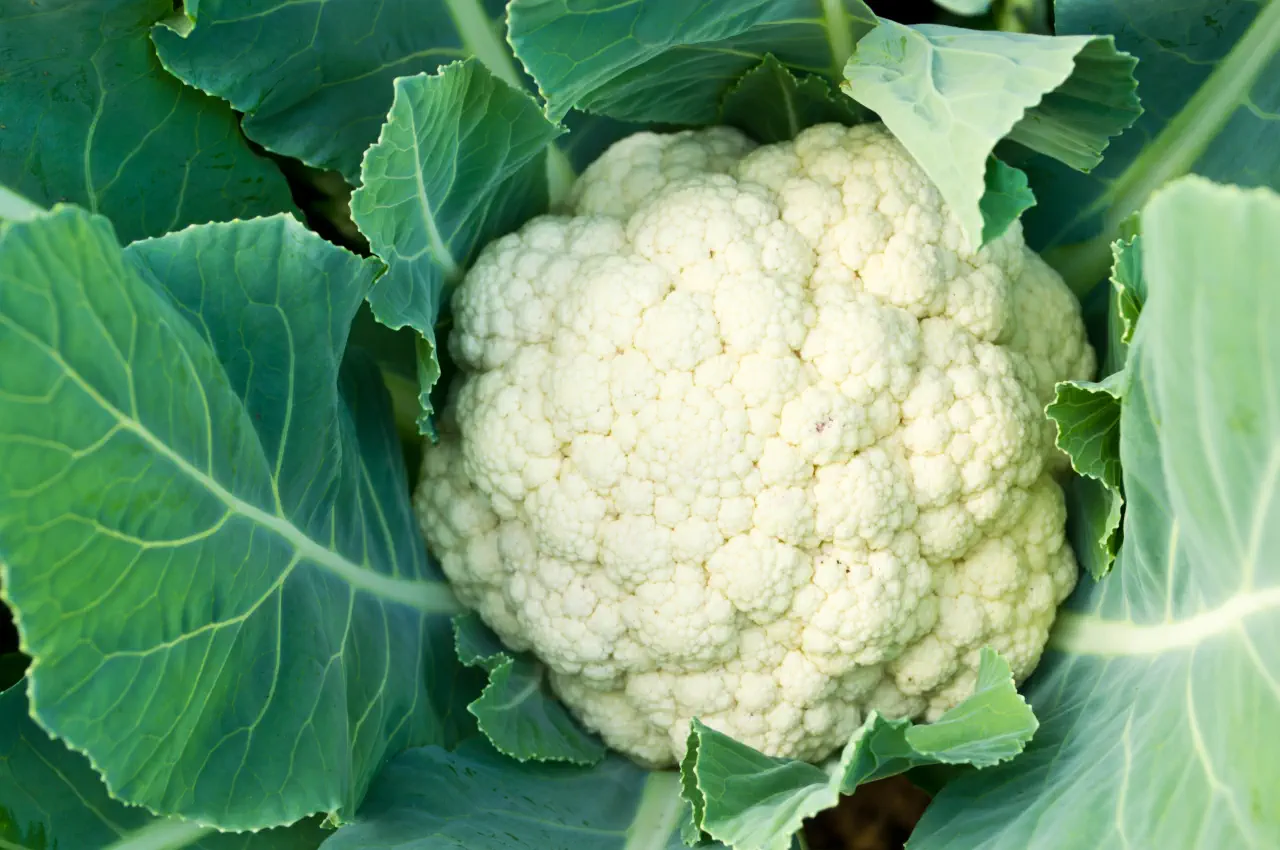
The cauliflower is a welcome addition to the kitchen garden and for many, is a much-loved favourite vegetable with its unique, succulent white florets making a nice change from the usual green vegetables on offer. It is however, not one of the easiest of the Brassica family to grow. Although related to the common cabbage, much more care and attention is needed in order to produce the perfect tight, white heads, which we are all accustomed to seeing.
There are now several varieties of cauliflower available including dwarf and some with purple and even orange heads, however, the white head, all year round variety is still preferred by many gardeners, growers and cooks. Cauliflower can be grown and harvested from spring to autumn.
Seed Sowing
Seeds can be sown anytime from March to early June but if sowing outdoors, it’s advisable not to sow during the hottest and driest months of summer. They can also be sown in October for over-wintering in the soil. Seeds can be sown directly into seed beds during favourable weather conditions or in a greenhouse, where they are likely to get a much better start than those sown outdoors.
Sowing Outdoors
If sowing outdoors then prepare the seed bed, ensuring the surface is well raked to produce a fine tilth. Set up a string line and use the corner of a hoe or a trowel to create a shallow furrow about 1cm-2cm deep. Sow the seeds thinly into the furrow and cover with fine soil. Firm the soil and water the furrow line using a watering can with a fine rose attachment. If required, repeat the process with further rows about 30cm apart.
The seedlings should be ready for lifting and transplanting to their permanent positions after about 5 weeks.
Sowing in a greenhouse
For best results sow under cover using seed trays or modular trays. The latter will ensure the plant’s roots are not disturbed, making for quicker growing and healthier plants. Use a seed compost to fill the trays and sow the seed sparingly over the surface of the compost. Cover the seeds with fine sifted compost or vermiculite to a depth of about 1cm then lightly tamp the surface using a flat compost presser. Gently water the seed boxes using a watering can with a fine rose attachment.
To speed up the germination process, seed trays can be placed into a propagation unit at a temperature of 21C (70F). All seeds should then germinate within 4-7 days. Once large enough to handle, transplant individual seedlings into 75cm pots and move to a cooler position with plenty of light. After about 10-14 days from transplanting to pots, and prior to planting into their permanent positions, move the seedlings into a cold frame, cloche or a sheltered area of the garden for a further 10-14 days so that they can become acclimatised.
Only plant outdoors when any risk of frost has passed.
Soil Preparation
Cauliflower will grow best in a sunny position, where to soil has been well dug to aid drainage. On very heavy clay type soils the addition of coarse grit can help to aid drainage. Incorporate plenty of well-rotted farm yard manure or well-rotted garden compost into the plot at least 2 months prior to planting to aid structure and fertility of the soil. This task can also be a carried out during the late autumn or early winter months during mild conditions. A sprinkling of lime can help break down heavy soils over the winter and offers some protection against club root.
Prior to planting, ensure the plot is quite level and well firmed down, then apply a rake to the surface to gain an evenly graded finish. The addition of a general fertiliser to the prepared soil will help the plants become quickly established.
Planting Out
Water the seedlings about an hour before transplanting. For seedlings grown outdoors, use a hand fork to loosen the soil around the seedlings taking care not to damage the delicate roots. Individual seedlings can be transplanted using a trowel or a furrow can be created using a string line and the edge of a hoe or spade. Space out the plants 60cm apart and 60cm between rows for large heads, and 30cm apart both ways for mini heads. Ensure the soil around the seedlings is well firmed down so plants are adequately supported.
Once all seedlings have been transplanted, water well with a watering can with a fine rose attachment.
General After Care
It’s important to water young plants regularly to ensure they do not dry out and to achieve an even and healthy growth rate. Remove any weeds, which grow between the plants and rows to discourage pests and maintain soil moisture. As plants become established a light sprinkling of general fertiliser every 2-3 weeks will help them develop healthy leaves and florets. However, avoid any fertilisers that contain high percentages of nitrogen as this will encourage excessive leaf growth at the expense or flower heads. A liquid vegetable fertiliser applied at every other watering is an excellent alternative.
Pests & Diseases
The cabbage family can succumb to several pests and diseases including the Cabbage White Butterfly, which lays its eggs on the underside of leaves. The hatched young caterpillars can strip a plant virtually bare within just a few days. Check leaves regularly and remove any eggs before they hatch. Another well-known but less invasive pest is the Cabbage White Fly. Again eggs are laid on the underside of leaves and should be removed before adult flies emerge.
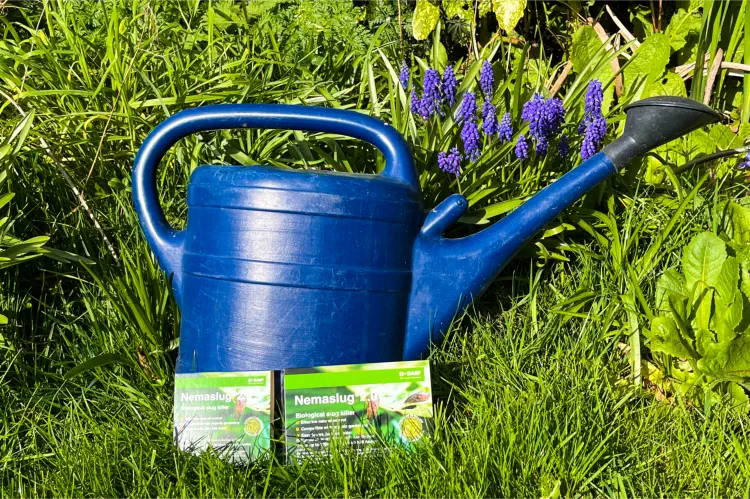
The Cabbage Root Fly is a more serious pest. The adults lay eggs at the base of seedlings and the emerging grubs dig down to feast on the roots. The use of nematodes, which hunt down and attack the larvae are a good organic control method. Club Root is a notorious problem with brassicas and if the soil is infected it can take some time to cure. This is a fungus that attacks the roots making them swollen and distorted. Plants will become stunted and show signs of purple colouration on their leaves. There is no chemical cure for this problem, so it’s best to rotate crops every year so that the same vegetable is not grown continuously in the same plot. On acid soils, the addition of lime, which is used to alter the pH level, can also help control the disease.
Birds can become a pest when the young plants are beginning to develop, pecking at the florets and causing unsightly damage. To prevent this problem spread fine plastic netting over the developing plants.
Harvesting
It’s best to harvest cauliflower whilst the heads are white and the florets are still tightly bunched. If left too late the florets will begin to grow apart and turn yellow then eventually brown. Cauliflower don’t keep for long and do not store well so it’s probably best to start harvesting some of the younger plants first, giving others time to fully grow. If the whole plant is uplifted and stored in a cool shed, they may keep for up 10 days.
Many varieties are suitable for freezing but in all cases select younger plants, which are more likely to retain their texture and flavour. Best results are achieved if the florets are first blanched before freezing.
Did you find this post Useful? So will others, please like it on Facebook, or share on Twitter.
Have you any other top tips you think are worth a mention? Please leave a comment below and let us know....
All blog content on this page is copyright of SimplySeed and is not to be reproduced without prior written permission. ©